Chickpea Garden Salad

I decided to try Eat to Live, like any cool vegan blogger. I started a new blog to track what I’m eating and share my thoughts- but I’m using The Picky Vegan to post any new recipes.

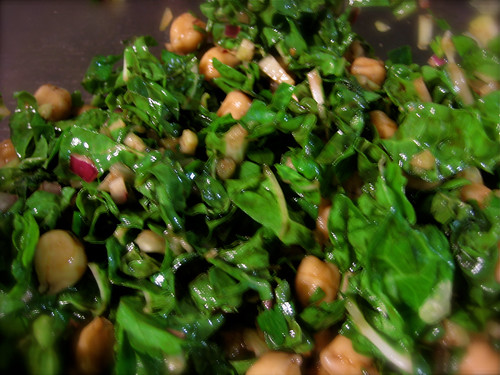
On my first day, I made a twist on a Chickpea Salad.

IMG_3228

Chickpea Garden Salad

1 serving; Eat to Live 6-week plan compliant

2-3 leaves of Swiss Chard, washed, dried and torn; thick stems removed (use more than this if you want)
1 stalk celery, diced
1-2 Tbs onion, diced
1/2 can chickpeas, drained and rinsed
2 tsp balsamic or raspberry vinegar
garlic powder, to taste

1. Add everything to a bowl with a lid.
2. Shake it all up.
3. Can be made the night ahead!

Aw, you thought it would be a complicated recipe, didn’t you? 🙂

Posted in Recipes | Tagged | 1 Comment

Veggie Loaded Barley Risotto

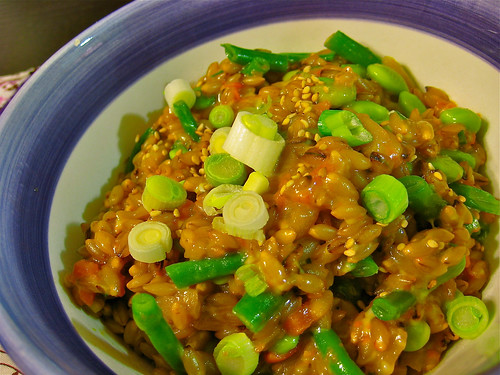
IMG_3204

I came home one night last week with my heart set on having risotto. Unfortunately, I didn’t have any arborio rice. However, I did have barley, and I do like barley risotto. I do my risottos in my pressure cooker for the most part, which is really nice with this particular one. I used some cooked green beans that were leftover, but you can use any veggies you want. Raw ones that take a while to cook go in at the beginning, and the cooked ones (or ones that don’t need much cooking time) go in after the pressure comes down.

Veggie Loaded Barley Risotto

  • 1 tsp canola oil
  • 1 small-medium onion, diced
  • 1-2 cloves garlic
  • 1 cup hulled barley, rinsed well (not pearled)
  • 3.5 cups veggie broth or vegan chicken broth
  • 0.5 cups vegan white wine
  • salt, optional
  • long cooking veggies (I used julienned carrots and chayote squash, because I had them on hand- winter squashes would be good here, too)
  • quick cooking/already cooked veggies (I used green beans, already cooked, and frozen shelled edamame. Leafy greens are good here, too)
  • optional: vegan cheese; garnishes- I used sliced scallions and toasted sesame seeds
  1. Heat the canola oil in the pressure cooker. Add the onion and hard veggies and saute until translucent (add broth if it gets to dry). Add the garlic when the onion gets soft; then add the barley to toast for about a minute.
  2. Add the broth and the wine. You may add salt if needed- but go really light with it.
  3. Put the lid on your pressure cooker, and bring up to high pressure (read your instruction manual on how to do that). Leave at high pressure (on the lowest heat setting that keeps it up there)for 35 minutes.
  4. Bring down the pressure with the quick-release method (check your manufacturer’s instructions).
  5. Return pressure cooker to the heat. Add vegan cheese and any frozen vegetables. As the frozen veggies defrost, add in your cold but cooked veggies and greens, if using. (If using fresh uncooked veggies like green beans, add them with the frozen ones).
  6. Continue cooking until water is absorbed, cheese is melted and veggies are cooked.
  7. Garnish and serve!
Posted in Recipes | Tagged , , , | 1 Comment

Scallion Pancakes Tutorial

Today is the day I teach you the ways of the scallion pancakes.

Or at least that’s what I told my boyfriend yesterday. He loved the scallion pancakes we had at Christmas so much, he wanted to learn to make them himself. So I thought it might be nice to take pictures so I could make a tutorial for the blog. The recipe comes from Ming Tsai, and they’re already vegan, so there was no substitutions necessary. As to dipping sauce, equal parts of soy sauce and rice vinegar, a little sweetener and a drop or two of sesame oil sprinkled with a bit of crushed red pepper works just fine, in case you don’t have the more exotic ingredients called for in the original recipe.

Scallion Pancake Tutorial

(recipe to follow)

First step is to make the dough. Here’s what you’ll need to start:
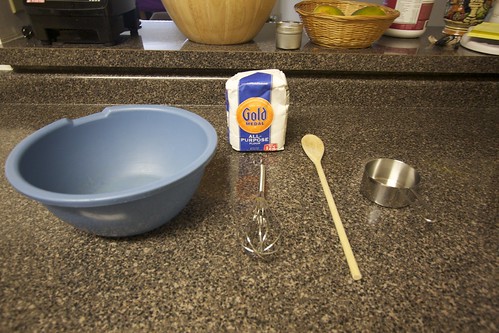
I like to use a whisk to sift flour and other dry ingredients. I saw it once on Martha Stewart. 🙂
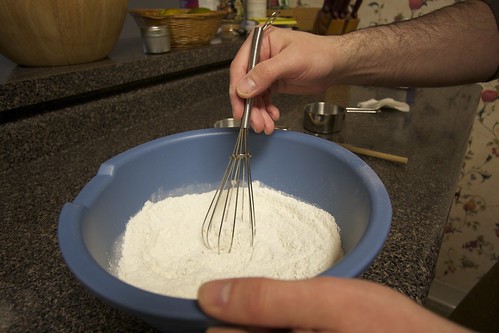
Next you’ll be adding the boiling water, and mixing while you go. You could also do this in a food processor, but the clean-up with that seems excessive.
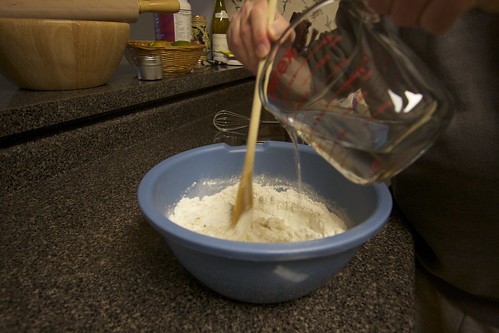
You may need to use your hands to get the dough to come together. It should form into a ball.

Cover the ball with a damp paper towel or cloth. Let it rest for 30 minutes. Now might also be a good time to put together your dipping sauce (not pictured).
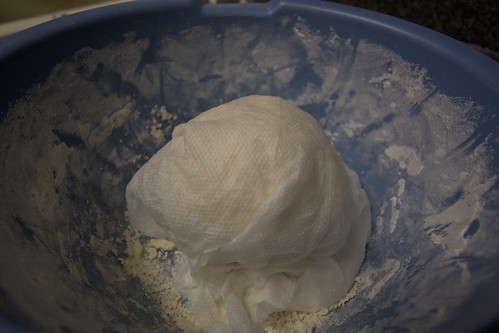
Now is also a good time to cut up your scallions. In case you didn’t know, it’s white and light green parts that have most of the flavor, but don’t ignore the tops if they look good. They make a nice garnish.

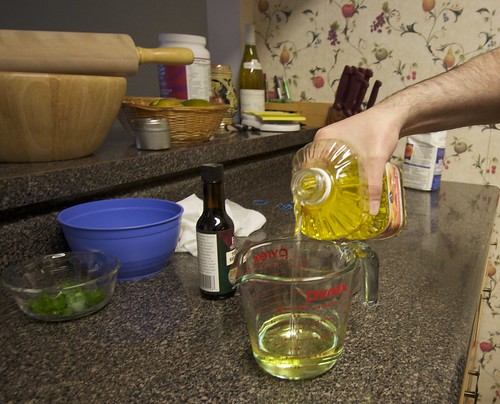
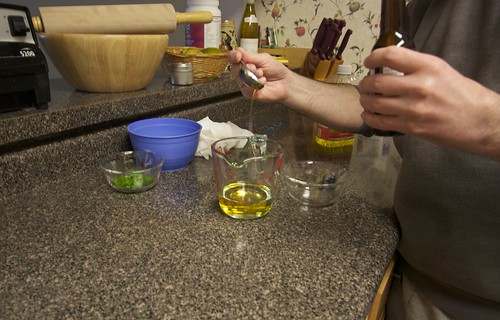
Next measure out your half cup of canola oil:
IMG_1253 - Version 2

And add to it 1 Tbs of toasted sesame oil and mix.
IMG_1256 - Version 2

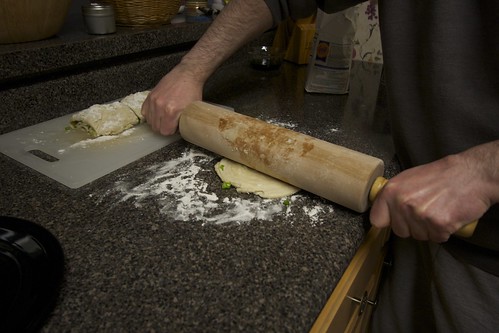
Put all that aside. Now it’s time to roll out your dough! Flour your counter space (you can be generous with the flour if your dough is tacky or wet), plunk down the dough, and have at it with your rolling pin.
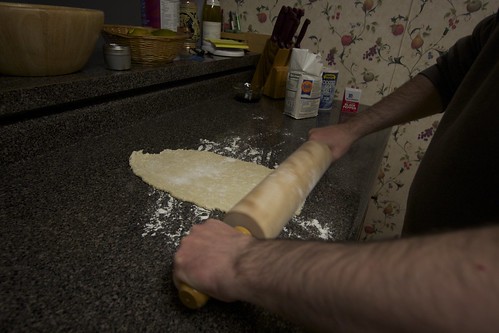
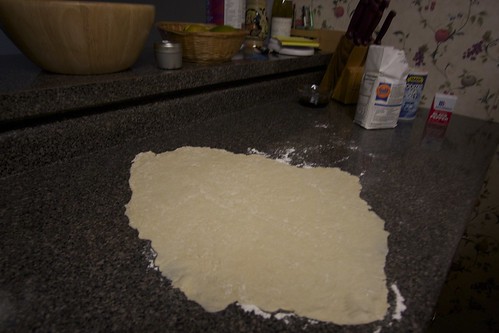
You’ll want to roll it into a more or less rectangular shape. Don’t worry if it’s not perfect. Imperfection is the way of the scallion pancake. 🙂
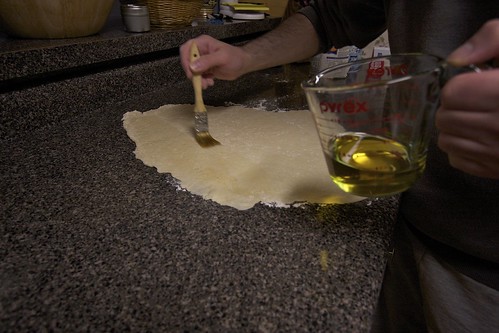
Next, brush on your oil mixture. You won’t use it all. In fact, you could probably measure out half as much oil. Also, if you lack a pastry brush (or dedicated paint brush), a paper towel works for brushing, too.
Sprinkle on your scallions. You can also sprinkle on some salt now, too. You don’t really need it, though.
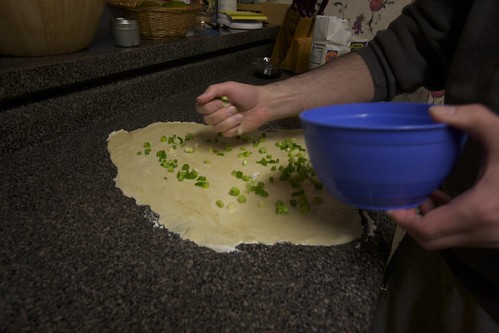
Now comes the fun part: rolling it up. Take the long edge and start rolling it over itself.

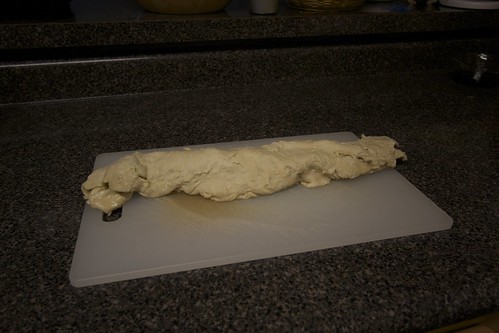
It will look something like this when you’re done. Hopefully yours will look neater. The dough here was a little too wet for this to go smoothly.
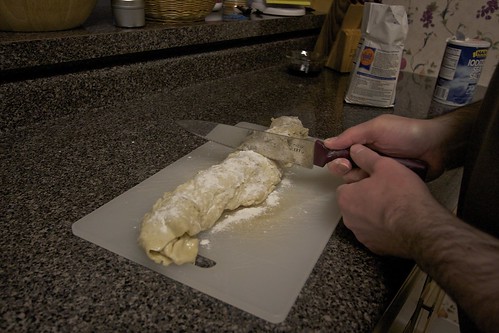
Cut it next. You’ll cut it in half, and then each half in half, more or less. If you’re visually-spatially inclined, you might also account for the difference in volume between the middle and the ends. Don’t worry if you’re not. It will still be fine. After all, such is the way of the scallion pancake.
Next is the even funner part: shaping the pancakes. Here you’ll take one of the four pieces. You’ll pick it up at either end, and twist it three times.
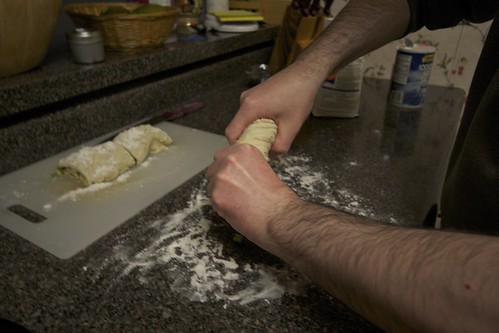
Next, you’ll take either end again, and squish the whole thing together. You’ll then return it to the floured counter, and lightly roll it with the rolling pin. Repeat the process with each of the other pieces.
Next up, heat some canola oil in a pan. You’ll just want to cover the bottom of the pan. The heat should be on medium, and you need to wait until the oil is nice and hot, or the pancakes will get greasy. An easy check is to (stand back), and flick a drop or two of water at the oil. When it sizzles, it’s ready. Definitely stand back when doing this!
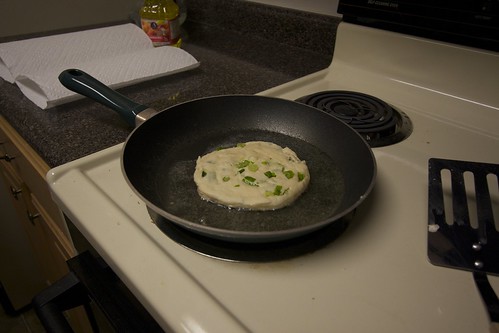
When the edge is golden, flip it over. When the bottom is golden, drain/blot with a paper towel. You can put the oven on 200F and put the completed pancakes in on a cookie sheet to keep warm while you finish.
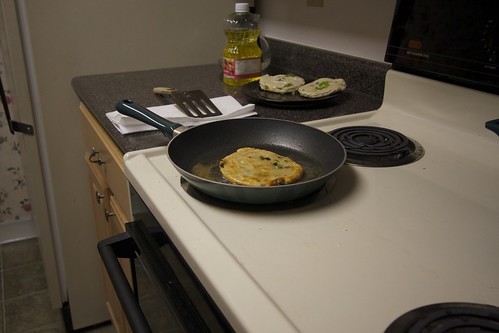
Serve it up sliced into wedges, with a sprinkling of the top part of the scallions and a bowl of the dipping sauce. Enjoy!
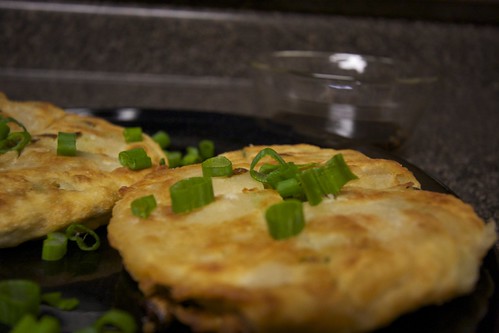
Scallion Pancakes

Original recipe found here.

Ingredients

2 cups all purpose flour
1 cup boiling water
1/2 cup sliced scallions
1 tablespoon sesame oil
1/2 cup canola oil
Salt to taste

Directions

In a bowl, sift flour. Slowly add water in a steady stream while mixing with a wooden spoon. Keep adding water until a ball is formed. With the same procedure, one can use a food processor with a metal blade. Let ball of dough relax for about 30 minutes and cover with damp cloth.

On a floured surface, roll out dough into a thin rectangle. Brush on oil mixture, cover with scallion and season with salt and pepper. Carefully roll dough like a sponge cake. Cut into 4 pieces. Take one piece and twist 3 times. Make a spiral out of this and flatten/roll again to achieve a 5 to 6 inch pancake. In a hot non-stick pan, coat with canola oil and pan sear both sides until golden brown. Cut into wedges and serve immediately with dipping sauce.

Posted in Recipes | Tagged | Leave a comment

Are you ready for this?

Are you? Really? Because this picture will make you go out and buy these. Ready?

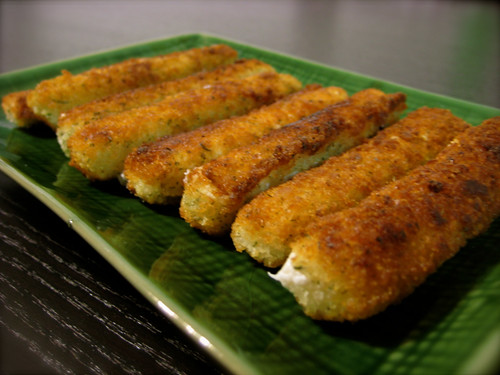
IMG_3178

Teese Vegan Mozzarella Sticks. Early on, when Teese first came out, I tried making mozzarella sticks out of it, but I wasn’t very sucessful. Now you don’t have to do it on your own! Thank goodness these are only available online, because I’d hate to have these too easy to get- because I’d eat them all the time.

IMG_3184

They stretch!

Go get them from Vegan Essentials!

Posted in shopping | Tagged | 2 Comments

Pan-Asian Christmas Feast

I have been sick for the last two weeks- flu followed by strep throat. However, it’s been a wonderful Christmas, nonetheless. It was just me and vegan boyfriend, but we had lots of food. I really ought invite other people over next time! 🙂

In no particular order:

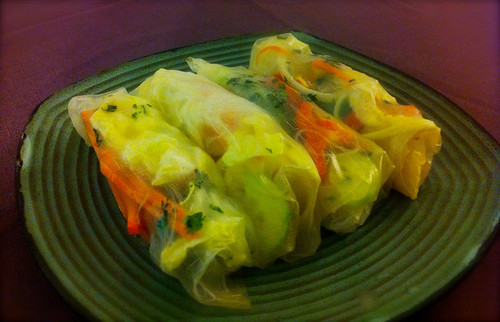
IMG_0702

Spring rolls. These sat out uncovered too long, unfortunately.

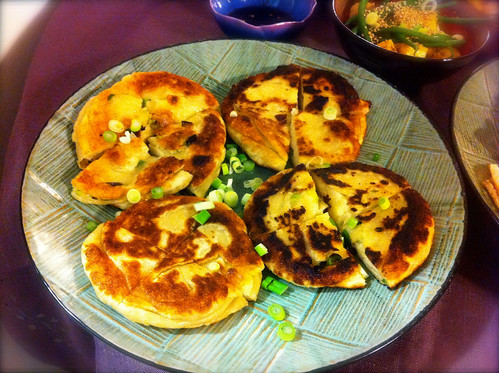
IMG_0731

Scallion pancakes. These were vegan boyfriend’s favorite. Next week, I teach him how to make them himself!

IMG_0726

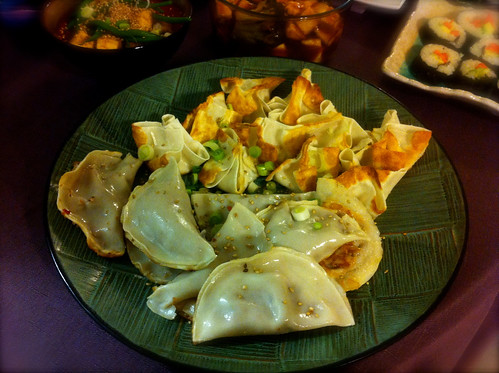
Potstickers and vegan rangoon.

IMG_0720

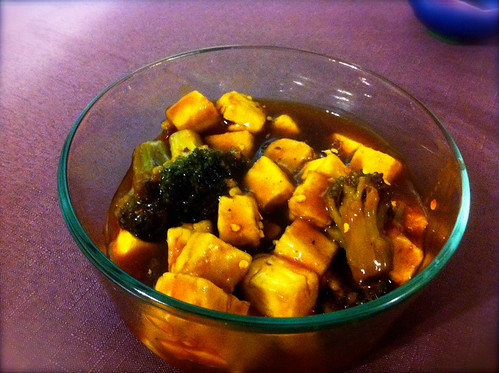
General Tao’s Tofu

IMG_0721

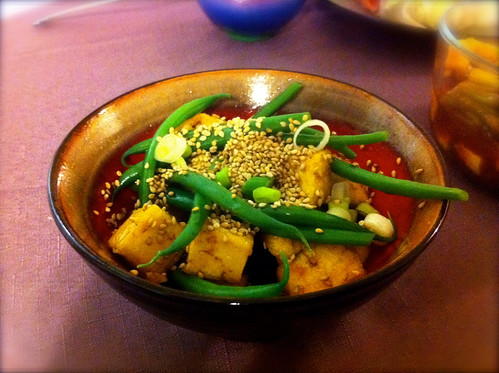
Sesame Tofu.

IMG_0717

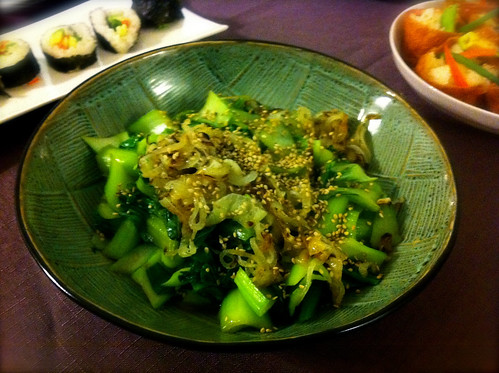
Baby Bok Choy with Crispy Shallots from Veganomicon

IMG_0713

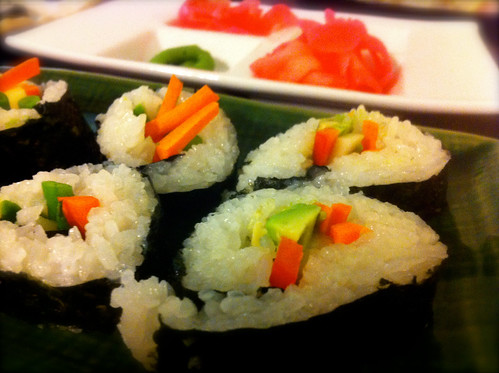
Sushi. I discovered, thanks to vegan boyfriend, that when you use the wasabi, you don’t taste the seaweed. Score!

IMG_0714

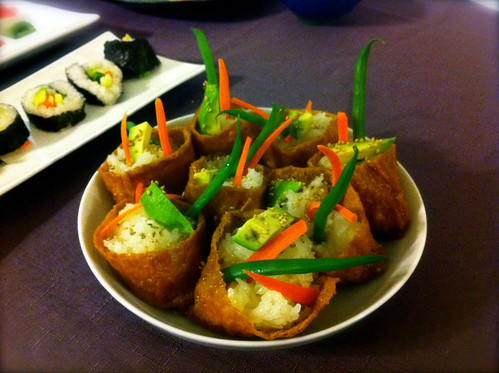
Inari Sushi. But now I’m not limited to this anymore when it comes to sushi!

IMG_0733

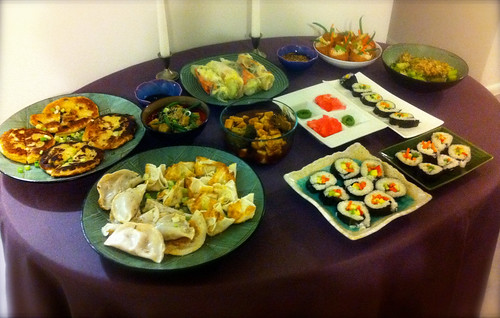
The whole feast!

IMG_0736

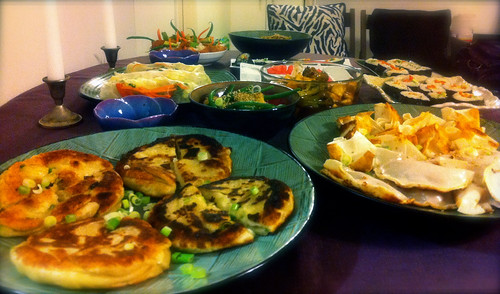
Another view of the whole feast.

Merry Christmas, everyone!

Posted in Food, Uncategorized | Tagged , , , , | 3 Comments

Sunday Afternoon

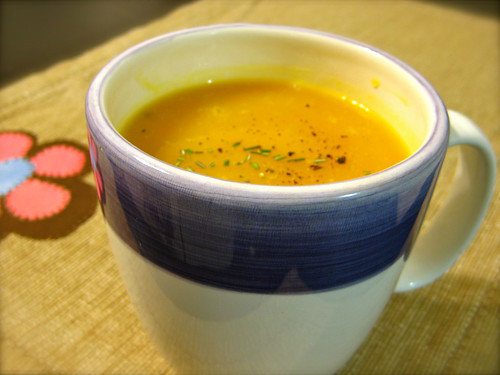
Some days I like to do some cooking that will last for a few meals. Today was one of those days! I made some Roasted Butternut Squash Soup (with fresh rosemary instead of Garam Massala), and then roasted up some beets.

IMG_3160

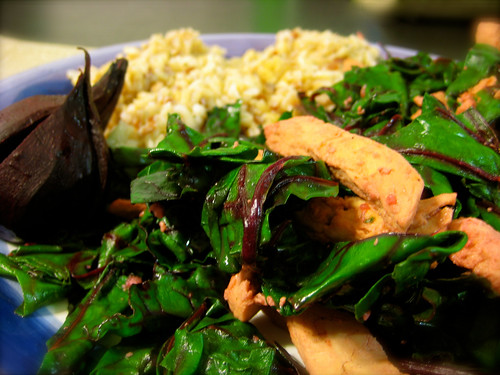
I later sautéed the beet greens (both the roasting and sautéing instructions are from Appetite for Reduction: 125 Fast and Filling Low-Fat Vegan Recipes) along with some Chicken-less Strips from Trader Joe’s. I served the greens, a beet, and the chicken-less strips along with some Cajun Grain Brown Jasmine Rice.
IMG_3171

Now I have leftover beets, rice and soup for the week, with plans for a couple of other dishes!

Posted in Food, Uncategorized | Tagged , , | 1 Comment

A little more on Vitamin D

I was going through the VeganMoFo folder on Google Reader, and came across a post from a fellow vegan who mentioned having his or her vitamin D level tested and being advised by their doc to take 5000 IU vitamin D per day. This posed a dilemma, because of the recent report that suggests we may not need as much vitamin D with supplementation as previously recommended.

I went to reply, and promptly my browser crashed, and for some reason, it wouldn’t show me the page in my history, and I didn’t note the name of the blog. (Too many posts to do the “show all” thing and find it, and google was no help). So in case anyone reading just wrote a post on this in the last few days, these are my thoughts!

Last year, I wrote quite a bit about Vitamin D deficiency, because I had it. How did I figure it out? Well, first off, my regular non-Vitamin D labs suggested that my bones were being broken down to provide calcium. You can’t absorb calcium even if your diet it is abundant in it without Vitamin D. So, at the behest of my nutritionist, I had my Vitamin D level tested. It was low. Very, very, very low. Waaaaaaaaay lower than what the recent research suggests should be an acceptable level. So at my doctor’s suggestion, I supplemented with 1600IU of D2 for a month. Then my level got even worse, and became undetectable. I had to do the 50,000 IU for 8 weeks thing, which brought my level up to the normal range.
Is that usual? Is it caused by veganism?

First off, I’m a pale skinned girl who lives in the Northeast US and has avoided the sun like the plague, for fear of skin cancer. (People living in the Northeast US who don’t avoid the sun like the plague do not get enough sun exposure during the winter months to make Vitamin D- see my earlier post for sources and details). Vitamin D only occurs naturally in some fatty-fish, so most people who get it through diet, really get it when it’s added to foods, like milk, orange juice and cereal. Well, as a vegan, milk is out (and gross), I don’t drink much OJ (and would avoid D3 anyways) and I favor oatmeal from the bulk bin to fortified cereals, so I wasn’t getting much in my diet. I had at that point been taking a multivitamin on a regular basis due to a B-12 deficiency (hey, some of us are just lucky like that), but it wasn’t enough to keep my levels at a minimum. I do use Almond or Soy milks, which also have Vitamin D added, but I don’t “drink” them per se; I just use them in cooking, so I don’t get enough that way, either.

So it’s not caused by veganism per se; but not eating a lot of processed food (or only eating the kinds of processed foods that have no nutritional value) doesn’t help. According to the NYT article, it’s not usual, either.

For you? Well, how low is low? According to that NYT article, a level of 20ng is perfectly fine, though the recommendation had previously been for 30ng. So if you’re between there, high dose supplementation may not be necessary.

If you’re like me- well, if you want to have some bone left in your old age, then supplementation is probably necessary. Everybody is different. If you’ve had it tested and are facing a dilemma, go back and ask your heath care provider if the new recommendations would change his or her assessment of what you should do.

Posted in Uncategorized | Tagged | 1 Comment

Cranberry Orange Bread

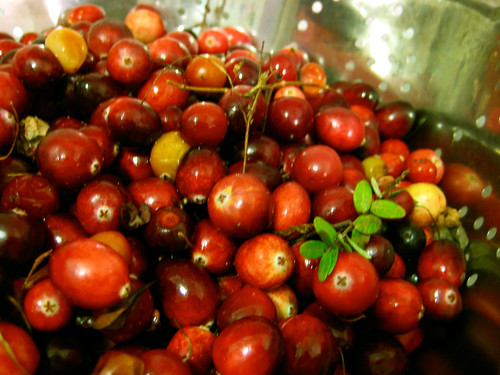
I was born and raised on Cape Cod, MA. I used to play in cranberry bogs for fun. Seriously! When I visited home earlier in the fall, my mom sent me back with tons of cranberries! Some of them hadn’t even been picked through:

IMG_2999

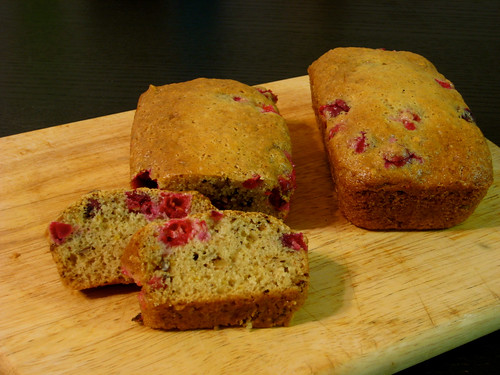
But, with a little persistence in picking out all of those leaves and twigs, you can have this:

IMG_3005

Cranberry Orange Bread

* 2 cups all-purpose flour
* 1 cup sugar
* 1 1/2 teaspoons baking powder
* 1 teaspoon baking soda
* 1/2 teaspoon salt
* 1 flax egg (1 Tbs flax meal and 3 tbs water, combined and allowed to sit for 5 minutes)
* juice of 1 large orange
* Zested peel of 1 orange
* 2 tablespoons canola oil
* 3/4 cup water (+more if needed)
* 1 cup fresh or frozen cranberries
* 1 cup chopped walnuts (optional)

Directions

    1. Combine flour, sugar, baking powder, baking soda and salt in a large mixing bowl.
    2. In a small bowl, combine flax mixture, orange juice, zest, oil and water.
    3. Stir into dry ingredients just until moistened. Add additional water if mixture is too thick to stir (this depends on how much juice you got out of your orange).
    4. Fold in cranberries and nuts.
    5. Spoon into a greased loaf pan or four mini-loaf pans.
    6. Bake at 325 degrees F for 1 hour or until bread tests done.
    7.  Cool in pan for 10 minutes before removing to a wire rack.

Of course, today is the last day of VeganMoFo. I didn’t make my goal of posting every weekday, but it did make me want to blog more. And you know what? I think I will.

Happy end of VeganMoFo!
veganmofo_final_circle

Posted in Recipes | Tagged | 5 Comments

Pumpkin Cinnamon Rolls

I made these Pumpkin Cinnamon Rolls from the Don’t Eat off the Sidewalk Zine. It was a most delicious Thanksgiving Breakfast. Unfortunately, it appears that the zine is no longer available, but these rolls are awesome, and worth it if it ever is available again!

photo

veganmofo_final_circle

Posted in Food, Uncategorized | Tagged | 1 Comment

Pizza Sandwich!

IMG_3143

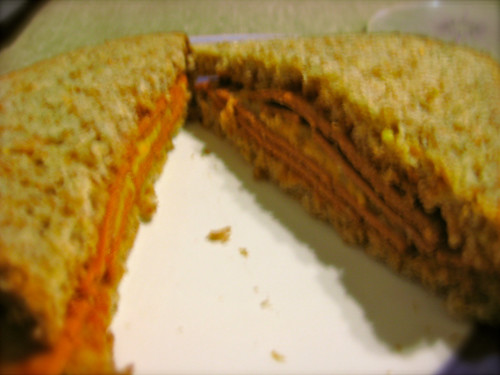
I’ve kind of lost my VeganMoFo mojo, but I did revamp my blog, so there you go. 🙂 The above is a “pizza sandwich” made with Yves’ vegan Salami, Daiya Cheese and Ketchup. Not the best picture I’ve taken, but one to help me back up on the wagon- and I’ll have some more really good ones, I promise.

Just a few more days till MoFo is over!

veganmofo_final_circle

Posted in Food, Uncategorized | Tagged | Leave a comment